Chevy HHR Engine Air Filter Replacement
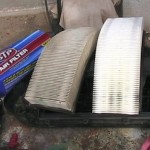
It has been a dusty year here in Arizona. I checked to see when I had last changed the wife’s Chevy HHR engine air filter. Wow, 3 years and a bit over 20,000 miles had passed since the last change.  Now I believe the owner’s manual says to change the engine air filter every 50,000 miles, but that may mean under ideal conditions. I live in a very dusty area from time to time depending on the seasonal winds. Therefore, I picked up a new engine air filter at the local parts store and went to work.
Time To Get The Tools
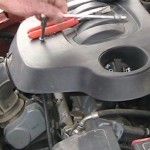
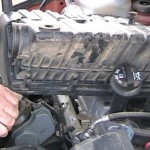
Changing the engine air filter is not a difficult task. Get a screwdriver, nut driver, or small socket wrench and a pair of pliers, then you are in business. First pull the plastic air filter housing loose  from its stud mounts. Pull up on the back of the unit that is closest to the firewall, and then pull up on the front of the unit that is near the radiator. Next, use a 5/16in. socket to loosen the large air intake hose clamp located just under the plastic cleaner housing.
Unplug the air temperature sensor indicator underneath the housing (watch video below), then loosen the outside air intake hose at the back of the unit with a 1/4 in. socket. The engine air filter housing should now be loose from the engine and ready to be disassembled.
With The Assembly Out
Use a drill driver or a star bit T-25 to loosen the 7 screws holding the engine air filter cover together. Now that everything is apart,  clean the air cleaner housing as desired, install the new filter and screw the housing back together. Install the unit on the engine in reverse order. Start the engine and check the dash gauges to make sure everything looks OK and you are good to go.
The procedure I followed according to the Shop Manual. The engine air filter replacement is an easy task.

