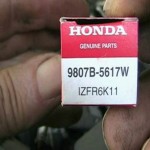
 The 2003 Honda Element was close to 100k on the odometer, and needed the spark plugs replaced. This was one of the less labor intensive repairs, and I was looking forward to it. While I was at the Honda dealership buying some dual pump fluid for a later drain and fill of the rear drive unit, I decided to buy the spark plugs as well. I really did not want to make an extra stop that day, but I should have, because the Iridium spark plugs cost twice as much as they do at a discount auto parts store. I headed home with four NGK Iridium spark plugs, thankful I only had four cylinders.
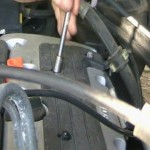 The part number for the NGK plug is IZFR6K11. In order to replace these overpriced little jewels I had to remove the cover plate on top of the engine. This plate is held on by four 10mm nuts, and is easy to remove. Below the plate are the four coil packs, and they are held with one 10mm bolt each. I decided to remove and replace one spark plug at a time to not mix anything up, or leave the cylinders exposed. I am used to working outside, and I am always conscious of dust and dirt getting into unnecessary places. Besides, I was in no hurry.
 The coil packs have an electrical connection that is somewhat difficult to remove unless the coil pack is raised up a bit. Then by pushing the clip on the side of the connection and pulling back—the coil pack becomes free. I removed the first coil pack connection before removing the coil pack bolt, and it was quite a tight no-room process. However, it can be done without compromising the wiring—it is just easier to raise the coil pack, in my opinion.
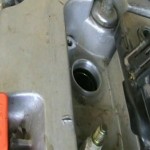 I was concerned with debris entering into the cylinder once I removed the spark plug, but found the head has a nice lip on it.
 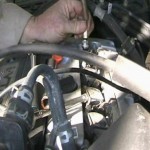 This lip prevents water and such from getting a chance to enter around the spark plug. Nice! The spark plugs are removed with a standard 5/8in. spark plug socket. I found that mine had worn out insulation inside and once the plug was removed I needed a magnet to fish the plug out of the hole. I have since replaced the worn out spark plug socket.
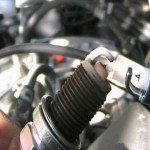 Having removed the first plug and looking it over closely, it was no doubt the original, and was functioning quite well. The coloration was what I expected—valves and cylinder were doing well also. In fact all of the plugs looked similar. I was quite pleased and wondered just how many miles the plugs could have gone. I compared the old plug with a new one just to see the difference.
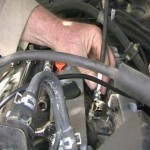 I like to use a piece of rubber vacuum line to install spark plugs when I cannot use my fingers to start the threads. I just attach it to the tip of the plug and when I turn the line the plug starts into the threaded hole. Should the plug try to cross thread the vacuum line will just slip and there will be no issue. With the Honda plugs the vacuum line also gave me a way to hold the plug going into the hole. I wondered why the Honda shop manual said to apply sparingly some anti-seize compound, when there was no evidence of any compound on the plugs I removed.
Never-the-less, I sparing applied some anti-seize compound. I started the plug in as many threads as I could get finger tight, using a socket, and then backed it out some to spread the compound. The shop manual calls for 13ft. pounds of torque. I tightened them to the feel of what they came out. I replaced each plug in succession until all were replaced. Then I put the cover plate back on and started the engine. I hope to see a bit of improvement in my gas mileage. This was an easy to do maintenance item, and I was quite satisfied. You can do it!
Bye for now.

