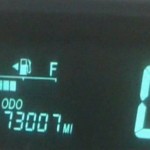
 Well the 2005 Prius was clocking up the miles, and being the third owner I was concerned that maybe the drive belt might need replacing. I was aware of a recent water pump repair, but that, and the last oil change was about the extent of it. I was sure that both the air cleaner, and the cabin air filter could stand a replacement as well. Therefore, off I went to get the parts, in the hope that I would have everything installed by lunch time.
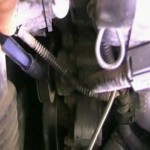 I decided to start with the drive belt, not to be confused with the timing belt. The Toyota Prius uses a timing
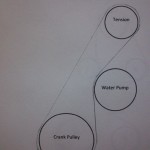 chain anyway. I started by loosening the bolt on the tensioner pulley. This made the pulley a bit wobbly. Then I loosened the tensioner bolt that is shown in the picture underneath the electrical line. Having both bolts very loose, I then slid the drive belt off the water pump pulley and then off the tensioner pulley and the crankshaft pulley. The water pump pulley contacts the flat side, non-grooved side of the belt.
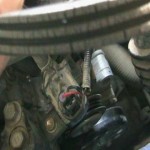 The belt removal was quite easy to do and I was hopeful that installing the new belt would go as smoothly. The old belt showed extensive cracking and there were some gouges on the back side as well. It was a smart move to decide to replace this belt. The wear was enough to make me think that it may have been the original belt. After all, even though the odometer shows 173007 miles, the engine is not running all the time because this is a hybrid vehicle. Perhaps Toyota should put an hour meter on the engine as well.
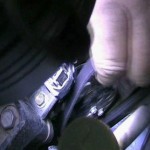 Having removed the old belt, it was now time to install the new belt. I checked the new belt against the old one to make sure it was the same length, and to make sure there was the same amount of groves. I installed the new belt by connecting it around the crankshaft pulley first then to the water pump and lastly to the tensioner pulley. I had some difficulty keeping the belt on the crankshaft pulley, but that was the only hitch in the installation. Next I tightened the bolt on the front of the tensioner pulley by hand, just enough to take out the sloppiness. Then I tightened the tensioner bolt itself, enough to give the belt a deflection of about an 1/8 inch or a bit more when pushing on it with your thumb. The book says to give it a ½ inch deflection with a 20 pound pressure. Finally I tightened the pulley bolt on the front to 30 ft. lbs. or as best I could without torque wrench.
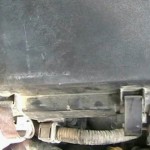 Ok, now it was time to replace the filter element in the air cleaner. This was very easy to do. I just unsnapped five latches and
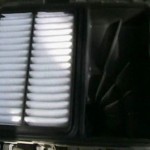 removed the top off of the cleaner. I then removed the old element, which did not look all that bad, and vacuumed out the air cleaned box chamber of some mouse debris and seeds. The new filter element went right in just like the old one and I put the cover on and re-snapped the lid connectors.
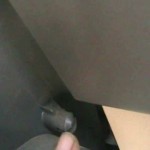 After starting the engine and checking for overall belt operation it was time to move on to the next maintenance item—the cabin air cleaner. I noticed that the dampener was missing on the
 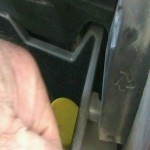 glove box. It should be on the side when looking at the picture. If you have one, remove it by pulling it off its connection. Next, squeeze the sides of the glove box door just enough to allow the catch pins to miss their resting points on the side. The glove box will now swing all the way down to where you can see the cabin air filter.
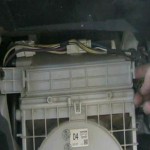 Grasp the clips on each side of the filter, push in and gently pull the filter out. Be careful for it may be full of all kinds of debris. The filter sits in a plastic frame allowing easy removal and replacement. Save the frame and install the
  new filter into it. Be sure to position the new filter under the built in holding tabs in the frame. Having done that, push the newly changed filter back into its position under the dash. It will snap into place. Make sure you do not have it turned upside down or the filter may be sucked into the blower fan. Now reinstall the glove
 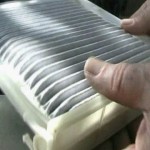 box, grab a cold one, and write the mileage and maintenance in your records. Congrats! You did it!

